


")
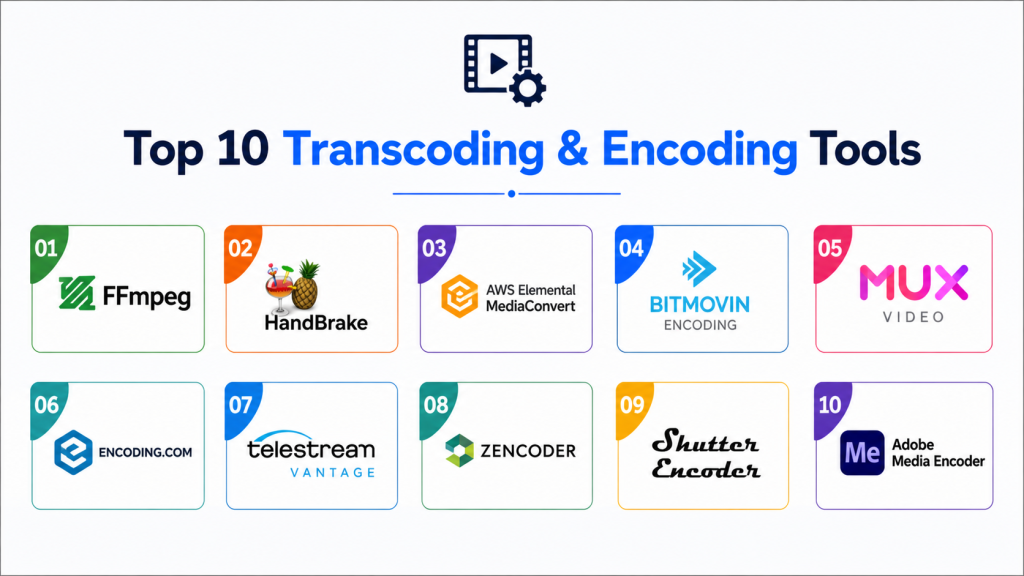
In the world of digital media, managing video files—whether it’s compressing them for a website, converting formats, or trimming clips—is a daily task for content creators. You have likely heard of the “Big Three” tools: FFmpeg, HandBrake, and Shutter Encoder.
But which one is truly the best? The answer depends entirely on whether you are a programmer looking for automation or a creator looking for a simple, clickable interface.
1. FFmpeg: The “Power User” Command-Line Monster
FFmpeg is not an application in the traditional sense; it is a command-line utility. It is the engine that powers almost every other video tool on the market.
- How it works: You type text commands into a terminal window. For example, to convert a video, you might type:
ffmpeg -i input.mp4 output.mkv. - The Pros: It is incredibly powerful. There is almost nothing you cannot do with it, from batch processing thousands of files to applying complex filters or live-streaming data. If you are a developer, you can integrate it into your own software.
- The Cons: It is terrifying for beginners. There is no graphical user interface (GUI). One typo in your command, and the process fails.
- Best for: Developers, server administrators, and those who need to automate repetitive tasks via scripts.
2. HandBrake: The “Everyman” Transcoder
If you have ever needed to convert a movie file to fit on a tablet or shrink a video for a website, you have probably used HandBrake. It is the gold standard for GUI-based video transcoding.
- How it works: It uses a clean, intuitive window where you select your file, choose a “preset” (like “Fast 1080p30”), and click “Start.”
- The Pros: It is free, open-source, and extremely user-friendly. The presets are excellent—they take the guesswork out of complex settings like bitrates and codecs. It is perfect for converting large video files into smaller, web-friendly formats.
- The Cons: It is limited in scope. It focuses almost entirely on encoding. You cannot use it for advanced editing, combining files, or complex tasks like extracting audio tracks in specific ways.
- Best for: Students, casual video editors, and anyone who wants to quickly compress videos without learning technical settings.
3. Shutter Encoder: The Professional Swiss Army Knife
Shutter Encoder is the tool that bridges the gap between the raw power of FFmpeg and the ease of HandBrake. It is essentially a graphical interface built on top of FFmpeg, designed for professional video editors.
- How it works: It features a very simple dropdown menu on the left side of the screen. You pick a function—like “Rewrap,” “Cut,” “Conform,” or “Image creation”—and then adjust your settings.
- The Pros: It does things HandBrake cannot, such as “Rewrapping” (changing the file container without re-encoding, which takes seconds instead of minutes) or cutting sections of a video without quality loss. It is professional-grade but doesn’t require you to know a single line of code.
- The Cons: Because it has so many features, the interface can feel a bit overwhelming at first compared to the simplicity of HandBrake.
- Best for: Professional video editors, filmmakers, and creators who need precision tools (like frame rate conversion or color correction) without the headache of a command-line interface.
Comparison at a Glance
| Feature | FFmpeg | HandBrake | Shutter Encoder |
| Interface | Command Line | GUI (Simple) | GUI (Advanced) |
| Ease of Use | Very Low | Very High | High |
| Automation | Excellent | Limited | Good |
| Speed | Fastest (via scripts) | Moderate | Fast |
| Best For | Coding/Servers | Casual Compressing | Pro Editing/Workflow |
Which One is “The Best”?
There is no single “best” tool, only the best tool for your current workflow:
- Choose HandBrake if: You just want to shrink a video file so it takes up less space or uploads faster to your website. If your goal is “simplicity,” HandBrake wins every time.
- Choose Shutter Encoder if: You are a creator. If you need to trim clips, change file containers, or perform professional-grade conversions, Shutter Encoder is the superior tool. It is powerful enough for pros but accessible enough for everyone.
- Choose FFmpeg if: You are building a platform or website. As a CTO, if I am building a service that needs to process user-uploaded videos automatically, I will always choose FFmpeg. It is the only one that can be programmed to run in the background of a server.
How These Tools Help Your Website Load Faster
As we have discussed in previous articles regarding site performance, file size is the enemy of speed.
When you host videos on your site (like wpdata.in), you should never upload the raw file directly from your camera. Use HandBrake or Shutter Encoder to:
- Reduce the Bitrate: Shrink the file size while keeping the visual quality high.
- Use Modern Codecs: Convert your files to H.265 (HEVC) or AV1, which offer smaller file sizes than the older H.264 standard.
- Optimize for Web: Ensure your video header (the “moov atom”) is at the start of the file so the video starts playing before it is fully downloaded.
By integrating these tools into your content creation pipeline, you ensure your website remains fast, efficient, and professional. Whether you choose the point-and-click ease of HandBrake or the precision of Shutter Encoder, you are taking a massive step toward better site performance!
Pro Tip: For most users, Shutter Encoder is the “sweet spot.” It gives you the power of FFmpeg with the convenience of a modern interface.

